Search the Community
Showing results for tags 'Green Mt'.
Found 1 result
-
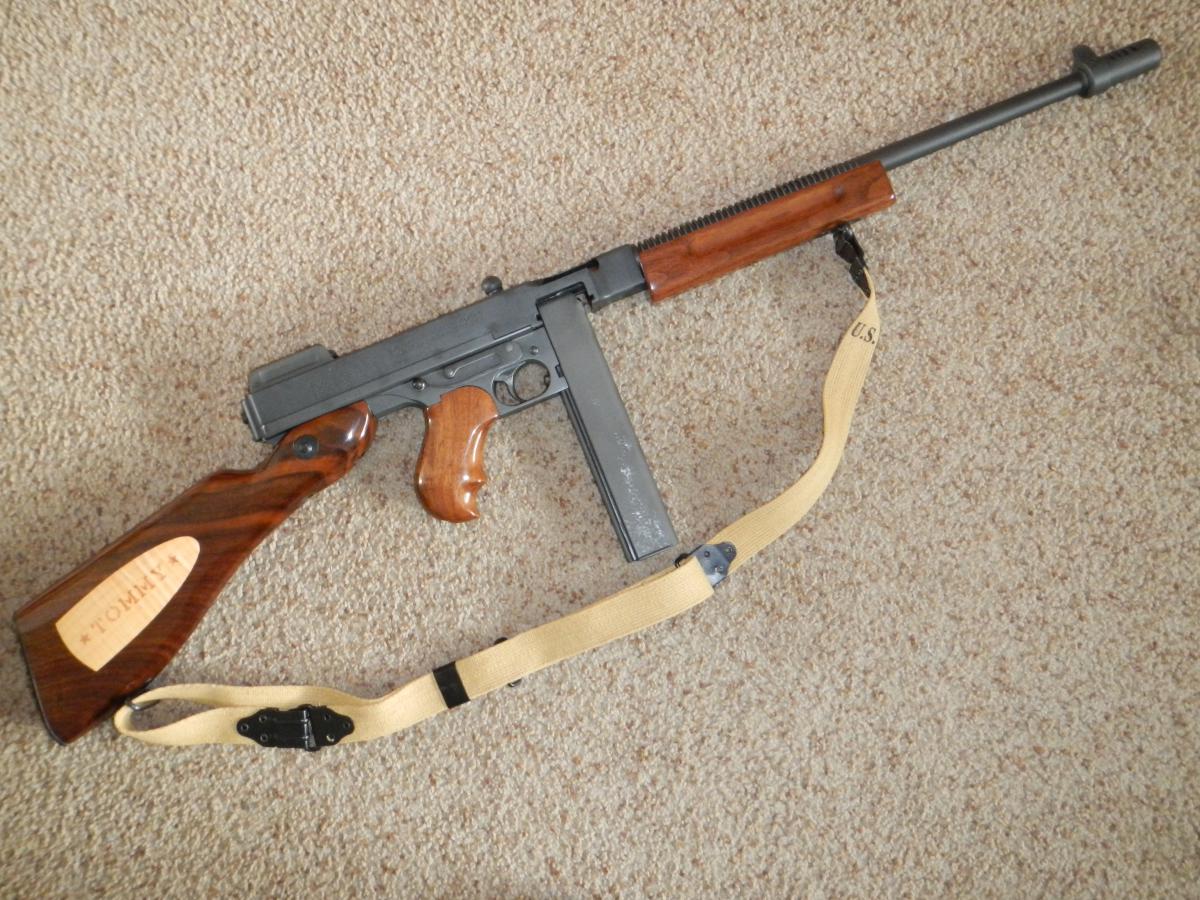
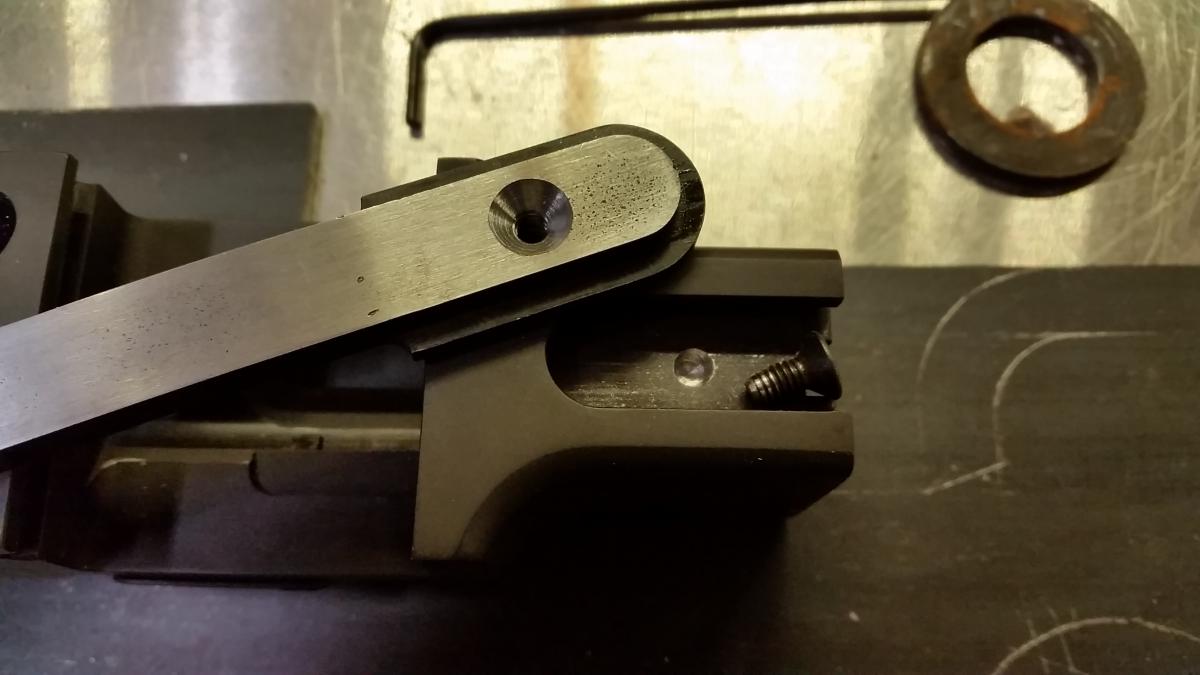
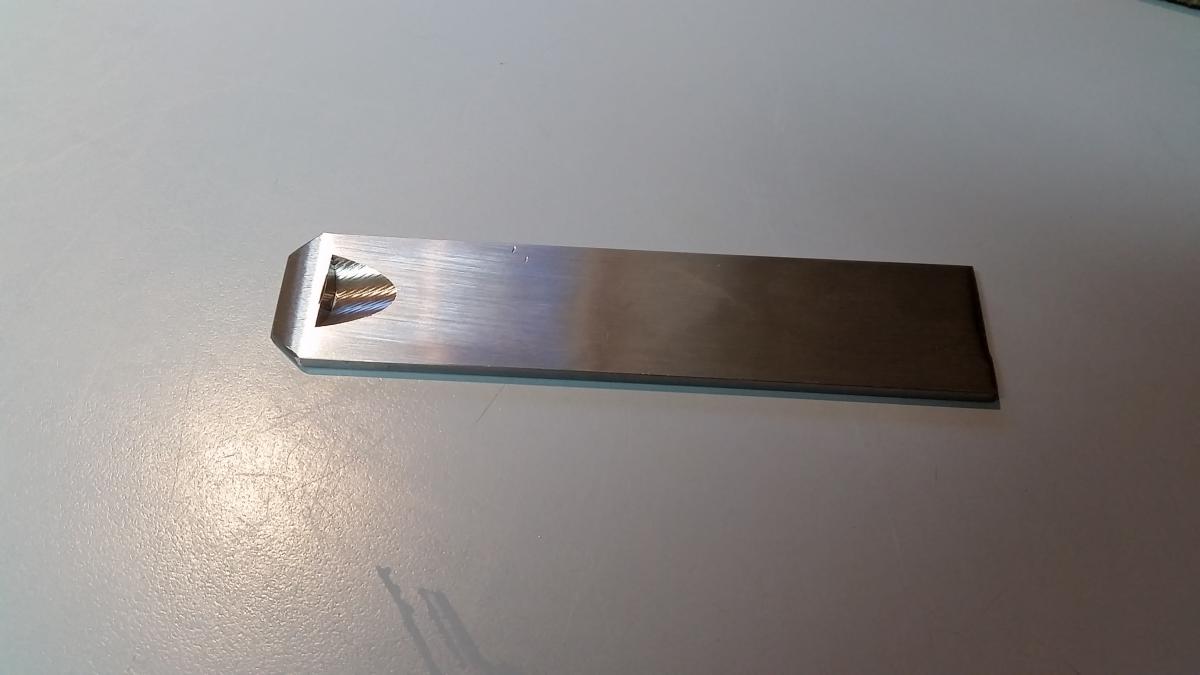
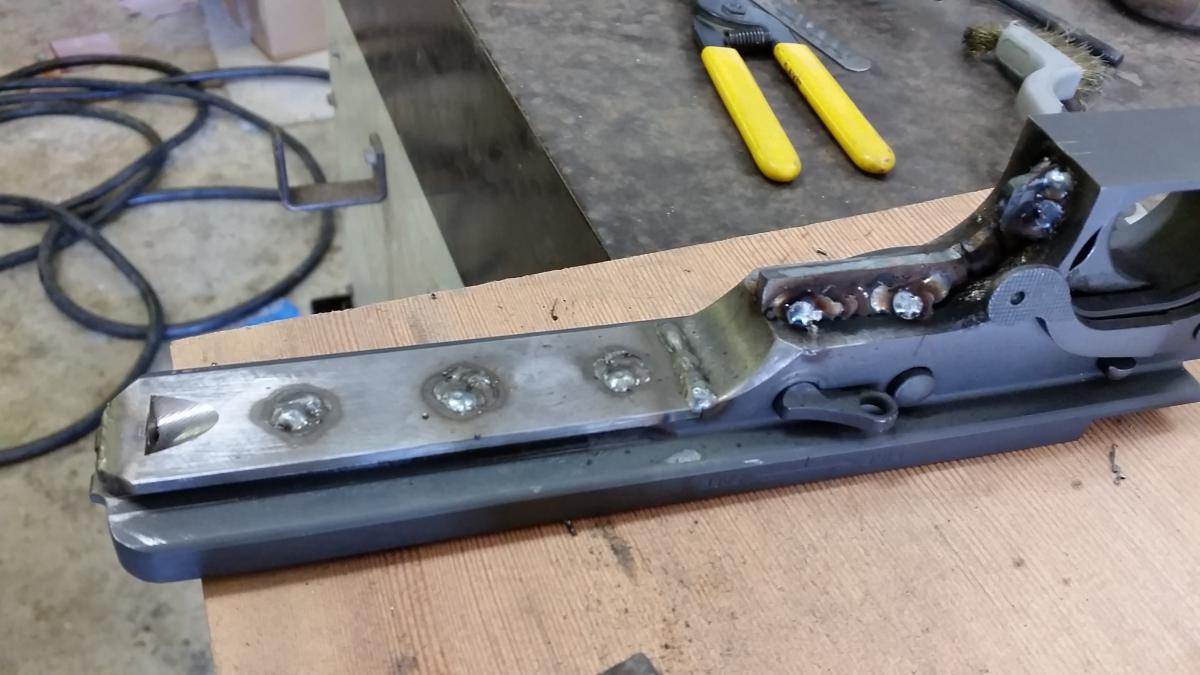
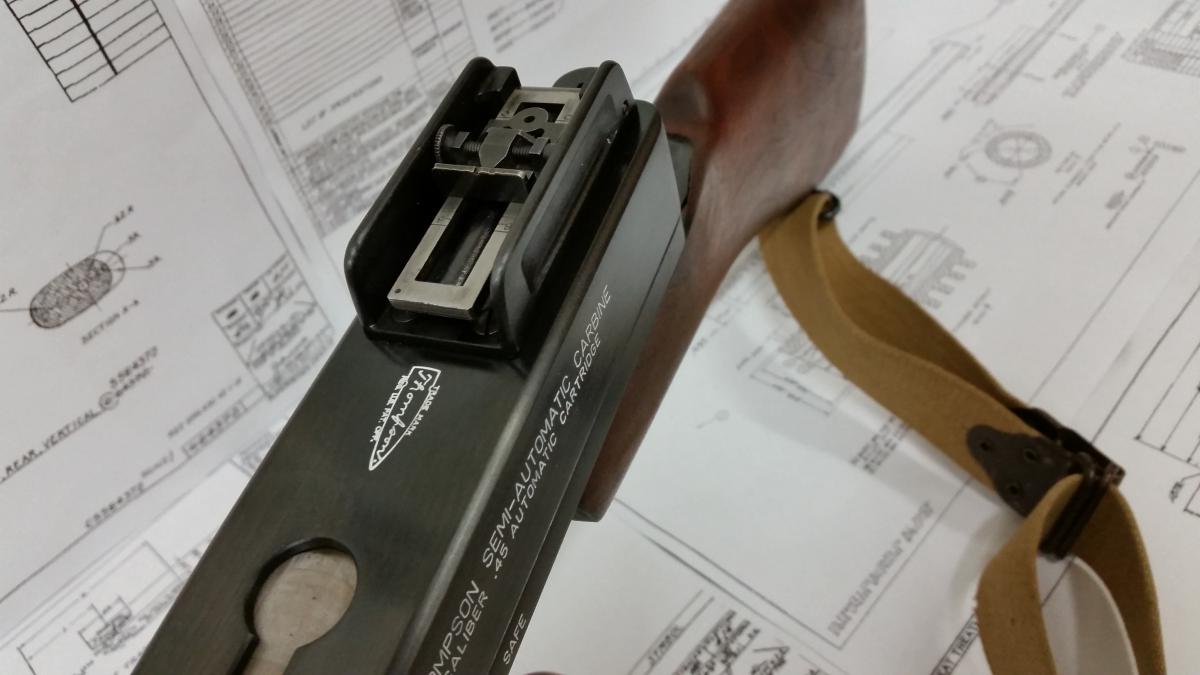
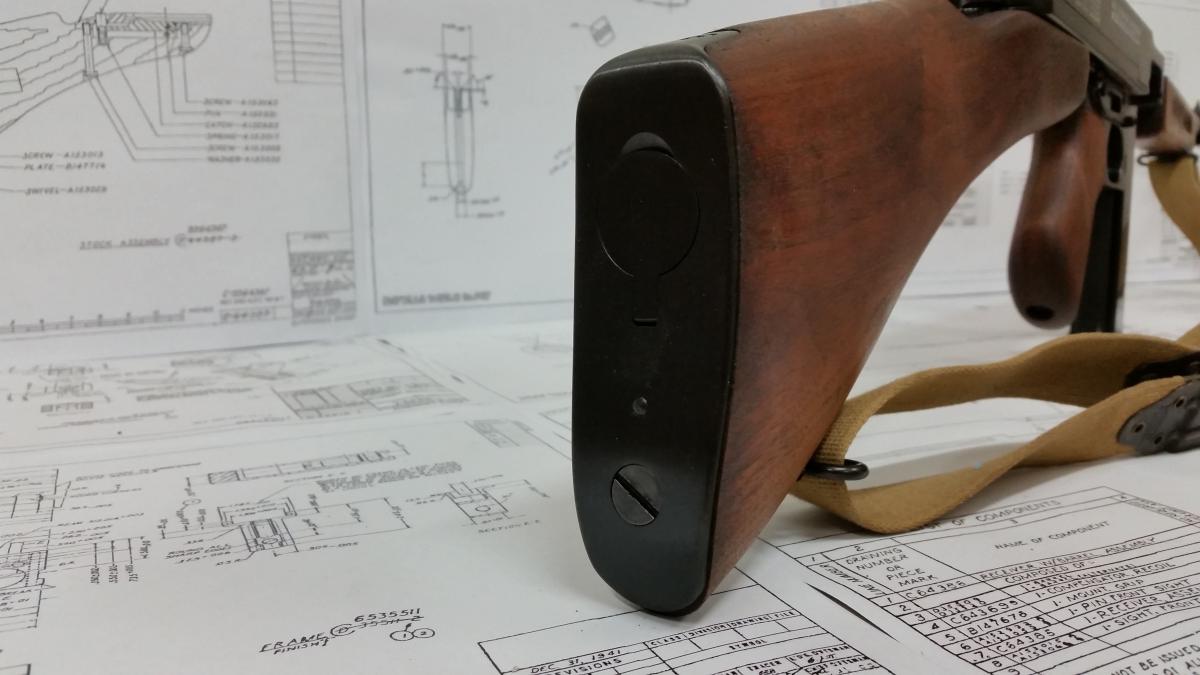
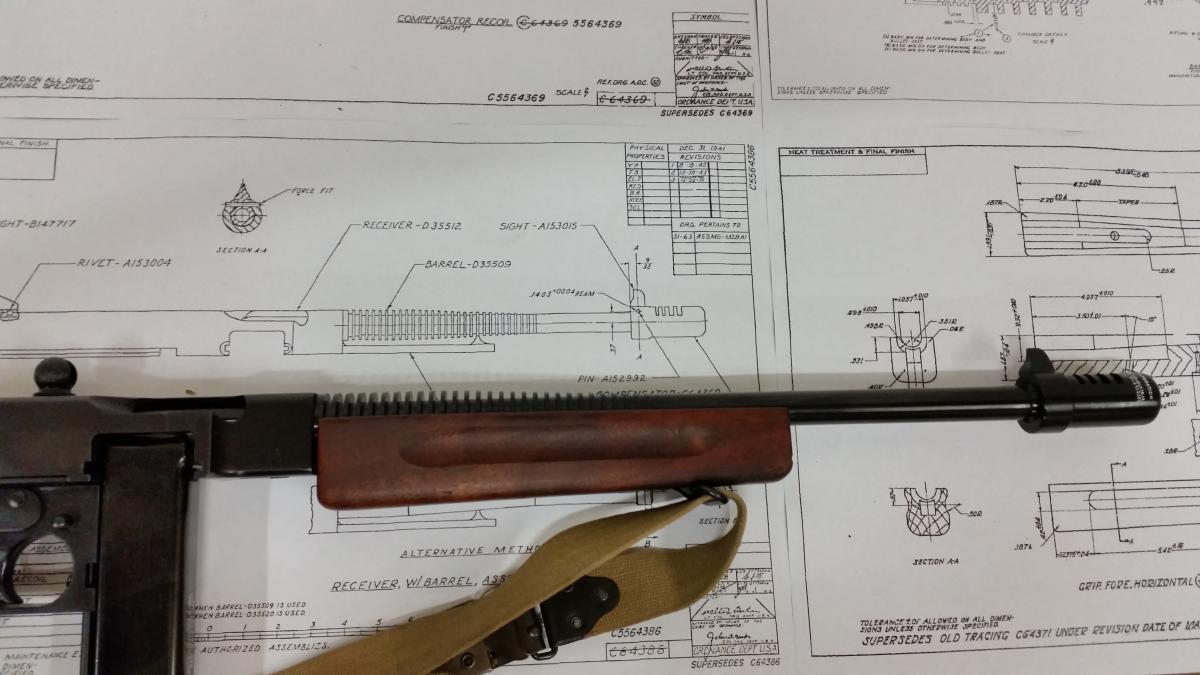
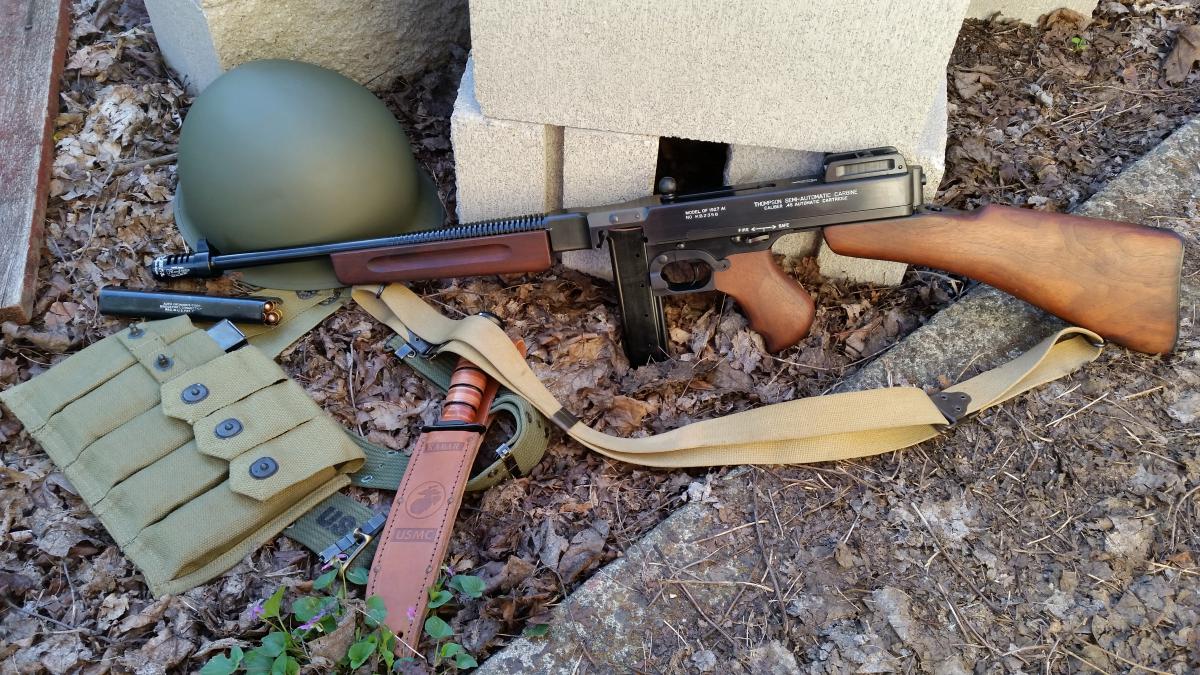
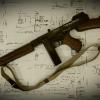 So this will be the chronicle of the remodel of my 1927A1 Kahr Thompson. Just like most any home remodel it started out simple enough. Make the barrel shorter….. yah right. Like that's all that's going to happen… It starts with the barrel. Then the original foregrip looks like crap since Green Mt. makes their barrels to original contour. So now the other furniture won't look right either against a vintage foregrip, so if I'm going to get original Thompson furniture I might as well do a removable buttstock and so I should get on the Machine Gun Boards to find out how to do that and then I was DOOMED…or Lucky…? This board has blown my mind and inspired me to go all out and do whatever possible within my budget to my Thompson. There is so much info on here that it would take years to soak it all up. Before I get into my gun I want to thank the couple of members I've dealt with here first. This may seem cheesy but the people here have helped me turn my "novelty" gun into a sense of pride and accomplishment. Thanks to: Dan Block(for great info, advice and EZ-Pull springs, ReconBOB (foregrip mount), Keith (magazines) and Chris (Kerr M1917) It was a pleasure to deal with all of you. Here is the final list of all that was done: Machined Trigger frame for adapter plate Homemade Adapter plate for 1928 Butt Relief in frame for takedown button to slide in easier Removed 1/4" of Receiver Rails for Tool-less Takedown EZ-Pull Spring Set Polished Bolt, Bolt Run, Firing Pin and Feed Ramp Hand Filed the Charging Handle Knurling Deeper Milled Frame for 1928 Grip Added 1928 style "Grip Blade to Frame" Milled Foregrip Mount to be able to Remove before Barrel Drilled and Tapped Set Screw Into Foregrip Mount Added Green Mt. 14.125" Finned Barrel. Full on Re-Blue of all Parts New and old White Lettering Original "Thompson" Parts Added: Cutts Comp Lyman Sight "S" Ejector "S" Extractor "S" Foregrip "S" Non Crossbolt Butt "M" Rear Grip "S" Butt Slide Hardware "S" Sling Swivels Butt plate Oiler Kerr M1917 Sling So here's the start. 4 years ago as I bought it. An Auto Ordnance T1-C Commando or, in other words a, 1927A1 Parkerized with Black Wood. Me being the Carpenter I am I can't leave anything alone. I have to make everything MINE in some way or another. So about a year later I stripped the Walnut and inlayed an Aut-Ord-Co shaped Tiger Maple with a little airbrushed TOMMY logo. The inlay was on both sides of the Buttstock For full disclosure this is Doug Richardson's original drawing (on the left) for his Buttstock adapter plate. And my modified version for what I did to my Thompson. (On the right) Red lines are the new profile and blue is the adaptor plate. I had seen other pictures, like these below, of the adapter plate and was not happy with the end result. Although it may be somebody else's "perfect" it wasn't mine. I decided to get all crazy and make my SA trigger frame resemble a FA frame as close as possible. I have to admit I am terrible at remembering to take pics during projects. I get too into what I'm doing at the time and get pissed every time I forget. So here's what I got. This is a shot of the receiver rails with the material removed for the tool-less takedown. The frame latch button now stops at the sear you pull the trigger and it's apart. Much better than sticking a flathead screwdriver into the back of the gun. Here is the relief I put into the frame for re-assembly. It just lets the latch button go into the channel a little easier. Just take a round file and a little patience. Next we move on to the foregrip mount. This is one of Reconbob's reproductions. VERY high quality. But after removing the original Kahr barrel I wanted to be able to have an easier time in the future if I ever have to remove this Green Mt. barrel. So I filed down the catch on top of the mount just far enough to clear the barrel fin so it can be removed before the barrel. Even though the pressure fit is very tight I wanted to make sure the mount would stay in the gun. The solution was to be a little un-original and drill and tap a set screw. The threads are actually in the mount and just under 1/8" of the screw protrudes into a thread-less hole in the receiver. Making the adapter plate was the easy part….. Using this pig to machine away all of the extra material off of the trigger frame was a true test of my patience and willingness to finish this remodel… It's a 3/4" Carbide burr. Or as I call it a poor man's machining bit. I used this and my other smaller burrs to do the machine work on the receiver and frame. Like I said I'm bad at remembering pics so we skip clear foreword to welding. The 3 spot welds in the adapter plate are 3/8" dia. Hard to see here but I also machined away the frame in the slot toward the safety closer to how a 1928 is. The left one shows the frame finished just enough to get the gun together for test fire The right one is after test and the modified areas of the frame are finaled out. And here is the final fit before I went out to test fire. I put 200 rounds through her. I did have a couple of issues with the extractor popping out but I was using the Kahr one. I figure I'll try the Savage one I have now and hopefully it'll do the trick. Notice the grip doesn't match the other two pieces. A combo of stains and true oil were used to match it to the others as you'll see in a min. This was the last bit of "machining" I had to do. Even though these SA's resemble the '28's I was going more for the finish of the Colt 21's. I love the belt-sanded and blued look of them. So I came up with my "Ghetto lathe" as my brother in law calls it….whatever gets it done right? These few are the final in-the-white shots before it went to Blue. I did the full wood assembly just to see it that way… Yes there are a lot of original parts getting refinished but I want my whole gun to "age" together so It'll always be right with itself. Just got the one shot of it here when I brought the parts home from their bath. About an hour later all the lettering was white. Here we have the end result. I have to say this was one of the most satisfying projects I have ever undertaken. I'll just let the pictures talk from here. Jon And Just Because.........